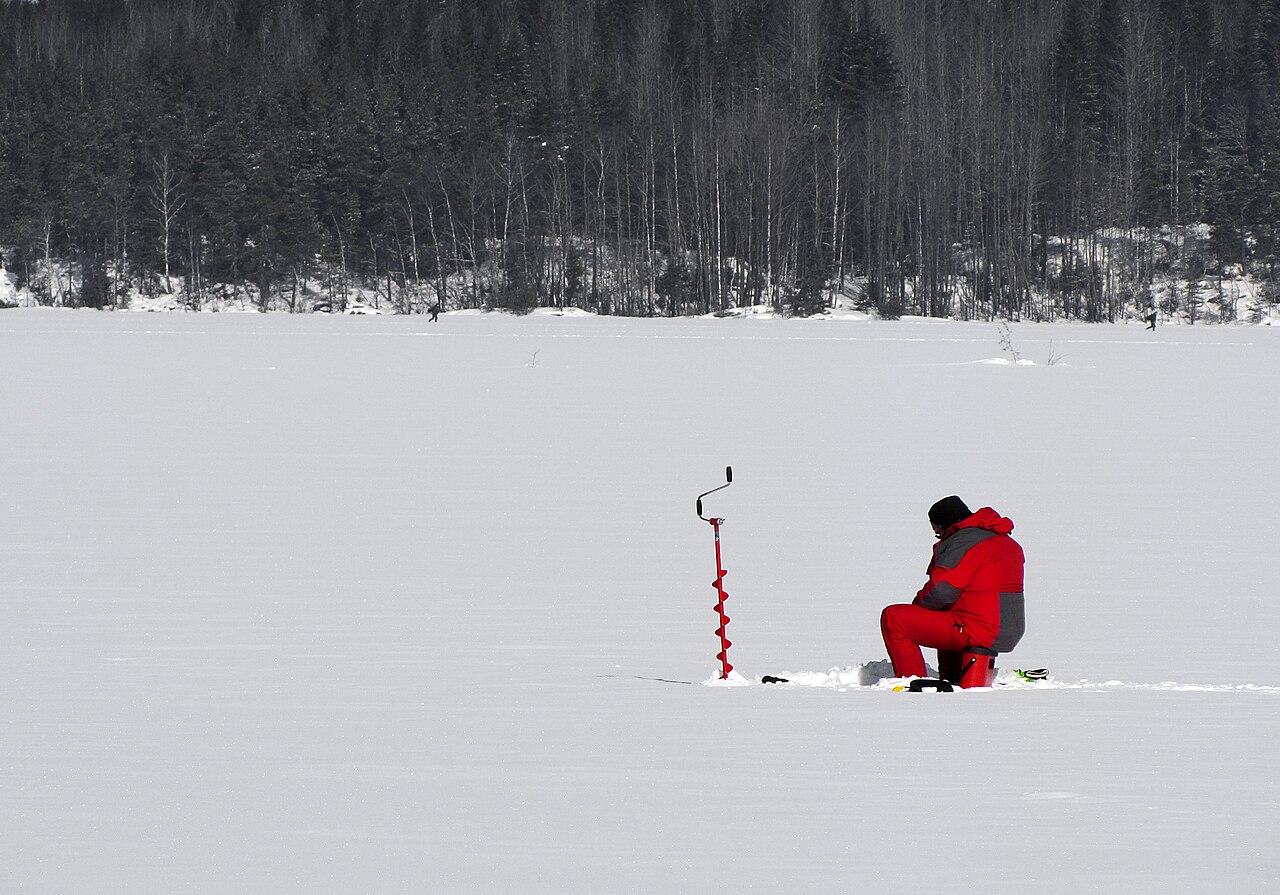
Most people who die in cold water do not die of hypothermia. They drown in the first sixty seconds, gasping from a reflex their brain never sees coming. Whether you capsize a kayak on a glacial lake, slip off a riverbank in spring runoff, or break through lake ice on a winter crossing, survival follows a tight, well-studied timetable — the 1-10-1 rule. This guide explains that clock, the four phases of immersion, the postures that conserve heat, the way back onto thin ice, and how to treat the person you pull out.
The 1-10-1 principle
Cold-water physiologists compress average survival in near-freezing water into three windows that are easy to remember:
- 1 minute — cold shock. Sudden skin cooling triggers an involuntary gasp reflex and uncontrolled hyperventilation, often at four times normal breathing rate. If the mouth is below water when that gasp happens, water floods the airway. Most cold-water drownings occur in this first minute.
- 10 minutes — meaningful movement. Nerve and muscle cooling in the arms and hands progressively destroys grip and coordination. Fingers uncurl, zip pulls become impossible, and self-rescue options evaporate. You have roughly ten minutes of useful function.
- 1 hour — hypothermic incapacitation. Core temperature falls slowly enough that an average adult, clothed and wearing flotation, may remain conscious for about an hour before incapacitation — though children, lean adults and lightly dressed people have far less.
These are averages, not guarantees: survival time swings with water temperature, clothing, body size, fat, behaviour and sea state. Estimate the numbers for your specific water temperature, clothing and weight with the cold-water immersion survival calculator, and treat the output as a planning warning, never a promise.
| Window | What happens | Your job |
|---|---|---|
| 0–1 min | Cold shock: gasp reflex, panic, hyperventilation | Keep airway clear; concentrate on slow breathing |
| 1–10 min | Short-term swim failure: arms and hands lose function | Self-rescue now, before grip fails |
| 10–60 min | Long-term cooling: core temperature drifts down | Conserve heat with HELP or huddle |
| Rescue and after | Afterdrop: cardiac arrest risk continues | Gentle handling, medical care |
The four phases of immersion
The 1-10-1 windows map onto four recognized clinical phases. Understanding them tells you which threat is active at any moment.
Phase 1: cold shock (0–3 min)
The cold-skin reflex spikes heart rate and blood pressure while forcing the gasp. Strong swimmers die here simply because their first involuntary breath is underwater. The countermeasure is behavioural: expect the gasp, fight the urge to thrash, and deliberately slow your breathing until the reflex subsides, usually within two to three minutes.
Phase 2: short-term swim failure (3–10 min)
Cooling nerves and muscles in the limbs cause weakness, loss of dexterity and an inability to keep the mouth above water through effort alone. Swimming performance collapses long before the core cools — which is why distance to shore, not body warmth, decides many outcomes.
Phases 3 and 4: long-term hypothermia and circumrescue collapse
Phase 3 is the gradual deep-cooling familiar from hypothermia: shivering, confusion, rigidity and finally unconsciousness over tens of minutes to hours. Phase 4 catches people by surprise: collapse can occur during or after rescue, when rough handling or standing upright drops blood pressure and the chilled, irritable heart slips into a dangerous rhythm. Survival is not guaranteed at the shoreline — the hour after rescue remains dangerous.
The life jacket is the number-one defense
Cold shock kills through aspiration, and the only piece of gear that reliably keeps an airway above an uncontrollably gasping person is a properly worn personal flotation device (PFD). Coast Guard statistics consistently show that the vast majority of cold-water boating fatalities were not wearing one. A PFD also lets you assume heat-conservation postures instead of treading water, which burns heat and energy at a furious rate. Wear it zipped and clipped before you launch; a stowed PFD is unreachable during cold shock.
HELP and huddle: hold the heat
Water conducts heat roughly 25 times faster than air at the same temperature, and the body's priorities are the head, neck, armpits, groin and chest sides. Two postures protect them.
HELP posture (single person)
The Heat Escape Lessening Posture requires a PFD: lean back, cross the arms over the chest, draw the knees up toward the chest and keep the legs together. This curls the body around its high-heat-loss zones and slows cooling substantially. Without flotation the posture cannot be held, which loops straight back to wearing the PFD.
The huddle (groups)
Two or more people press chest to chest in a tight circle, arms wrapped around each other, with children and the smallest adults in the centre. The huddle shares heat, reduces exposed surface area per person, and preserves morale and visibility. Keep the group together; a lone swimmer separates from the thermal and signalling mass of the group.
Do not swim unless you can reach something
Exercise pumps warm blood to cold limbs, drives water through clothing layers and accelerates heat loss by a large margin; many fit swimmers have drowned attempting distances they would have managed in a pool. Swim only if a floating object, the upturned hull, firm ice or a close, certain shoreline is reachable within your ten-minute window of useful arm function. Otherwise stay with the boat — it is large, visible and almost always outlasts a swimmer — signal, and wait in HELP.
Breaking through ice: the self-rescue sequence
If the ice fails under you, the cold-shock gasp arrives instantly. Control your breathing first, then act while your arms still work:
- Turn toward the way you came. The ice behind you held your weight seconds ago; the ice ahead is unknown.
- Get your forearms onto the shelf.Place both arms flat on the ice in front of you; grip with whatever function remains, but do not pull straight down and lever more ice under.
- Kick horizontally. Propel with strong, level kicks until your body rises to the surface of the water rather than trying to chin yourself up vertically.
- Swim onto the shelf and roll. Once the torso is supported, keep spreading weight wide, crawl or roll away from the hole, and do not stand until well clear on proven ice.
For a bystander, reaching or throwing assistance from shore beats going in: extend a branch, pole, rope, scarf chain or thrown flotation while lying flat to spread your own load, then pull the victim to thick ice. Going in yourself often creates two victims for one hole.
After rescue: afterdrop and gentle rewarming
Rough movement, walking and standing can trigger post-rescue collapse, so treat every conscious immersion victim as fragile:
- Lay the person flat and shield them from wind; handle slowly and gently, no jogging or exercise to “warm up.”
- Remove wet clothing and get into dry layers, a sleeping bag or bivvy; insulate from the cold ground underneath.
- Rewarm the core first — warm packs or warm hands to neck, armpits and groin, warm sweet drinks only if fully alert and swallowing normally.
- Do not massage arms and legs, do not immerse in hot water, and give no alcohol; these drive cold blood back to the core and can stop the heart.
- Evacuate to medical care in every serious case; afterdrop can deepen for 30–60 minutes after exit, and altered consciousness is an emergency — call emergency services (911 / 112 / 120) early.
Cold, wet wind on exposed skin keeps stealing heat after exit; combine the wind chill reading and your remaining insulation with the wind chill and frostbite tool to decide how urgently shelter and warmth are needed.
Reading ice: rules of thumb are not reports
Folklore numbers — so many inches per person, per snowmobile, per truck — assume clear, solid, uniform ice that real lakes rarely offer. Springs, currents, inlets, outlets, cracked or snow-insulated “white ice,” and pressure ridges all create thin spots beside thick ones, and ice that supported you yesterday can weaken after a single warm day. Official local ice reports, park advisories and measured test holes beat any memorized table; many jurisdictions publish weekly conditions, and Minnesota's Department of Natural Resources and the U.S. Coast Guard both stress that no ice is ever completely safe. Wear a flotation suit or PFD and carry ice picks whenever you travel on foot over frozen water; the picks are what turn the self-rescue sequence from theory into something your hands can actually do.